
Your variants of interest have been identified, the SVs annotated, and the CNVs classified. Once the manifest has been imported (and here is a great blog on the subject), the last step is to bring all of this information into a report template! In this blog, we will go over some simple report modifications and provide resources for more information on the topic.
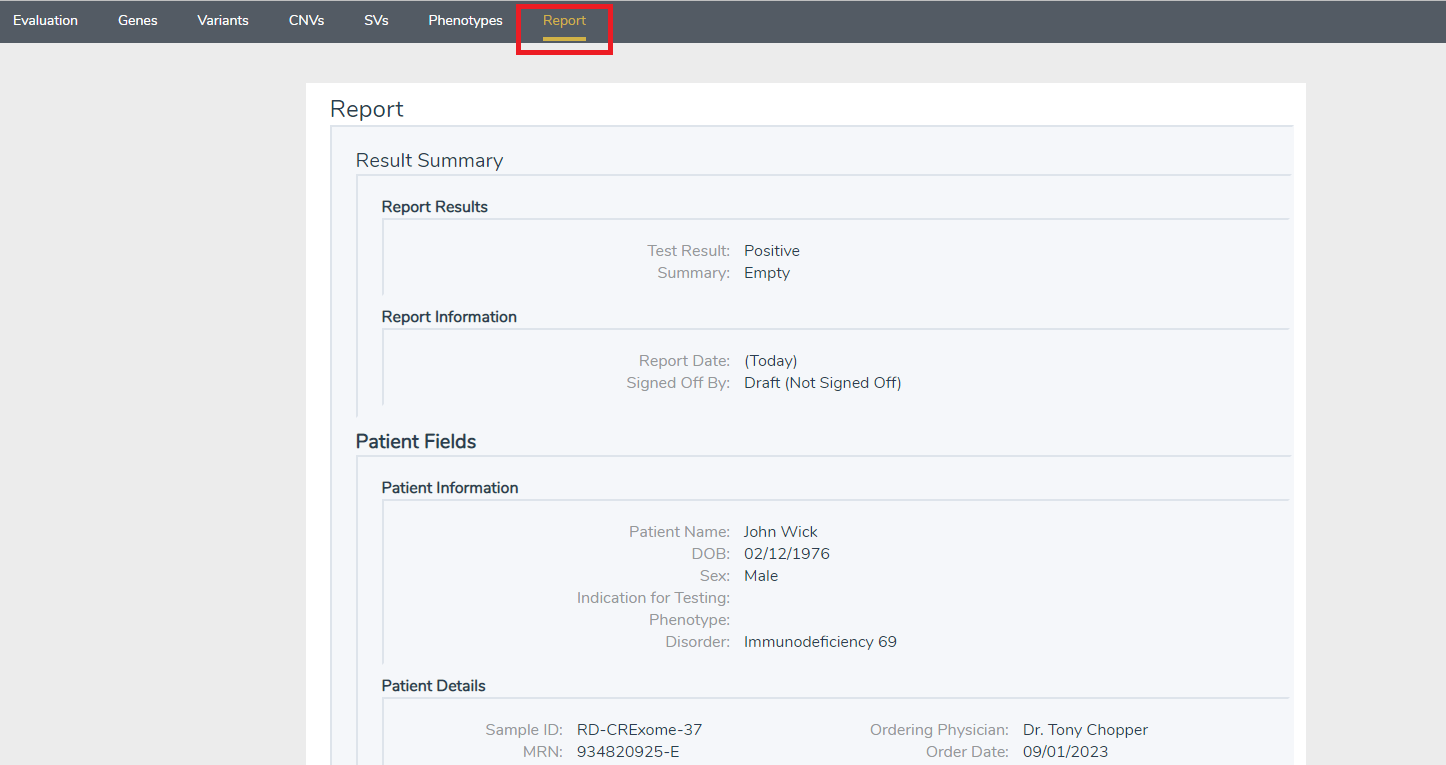
First things first, once you know which variants on which you want to report, go to the Report Tab inside of VSClinical (Figure 1). What you will see is sort of a bare-bones template that shows which fields have been filled in, from variant analysis to any information imported in the text manifest.
After confirming the information is correct, we can move to the options on the right-hand side of the screen. Here we can sign out and finalize a report, or we can start a new word report export, as shown below (Figure 2).

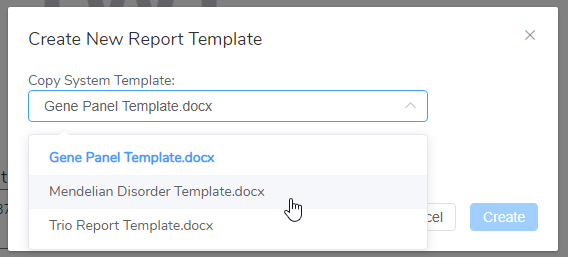
VSClinical comes with a number of ACMG and AMP-specific templates, all of which are entirely customizable. The AMP templates include a Cancer Biomarkers Template, a Cancer Drugs and Trials Template, and a Cancer Report Template. More information on those templates can be seen in this great webcast. The ACMG templates include the classic Gene Panel Template, the Mendelian Disorder Template, and the Trio Template, which you can see some of the options for below (Figure 3). In addition, with the upcoming release of VarSeq 2.5.0, we are thrilled to announce the support of a Carrier Status Template. For this blog, we will be making a change to the Mendelian Disorder Template.
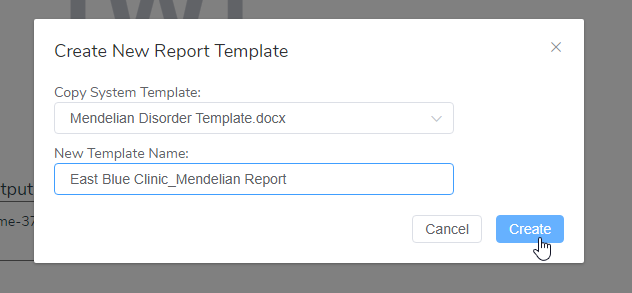
For this example, I will be customizing a template for the fictitious East Blue Clinic. It is important to give your new report template a name, especially if you will be making more than one (Figure 4). Next, hit Create.
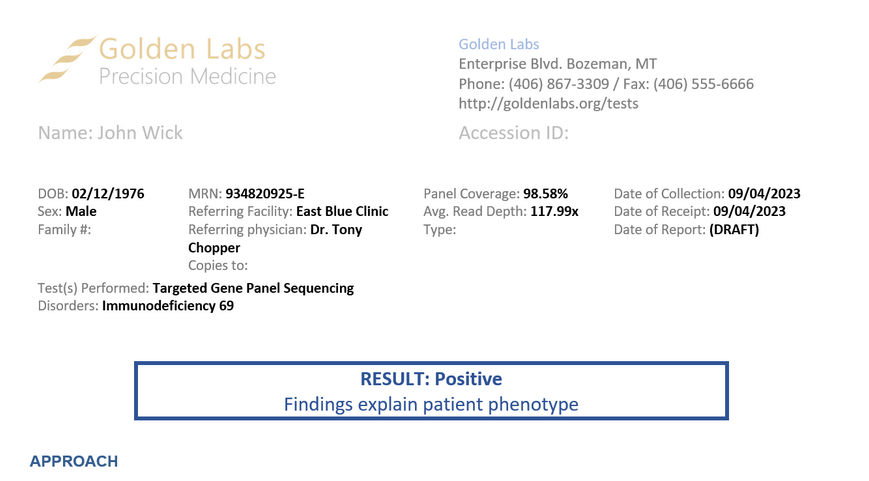
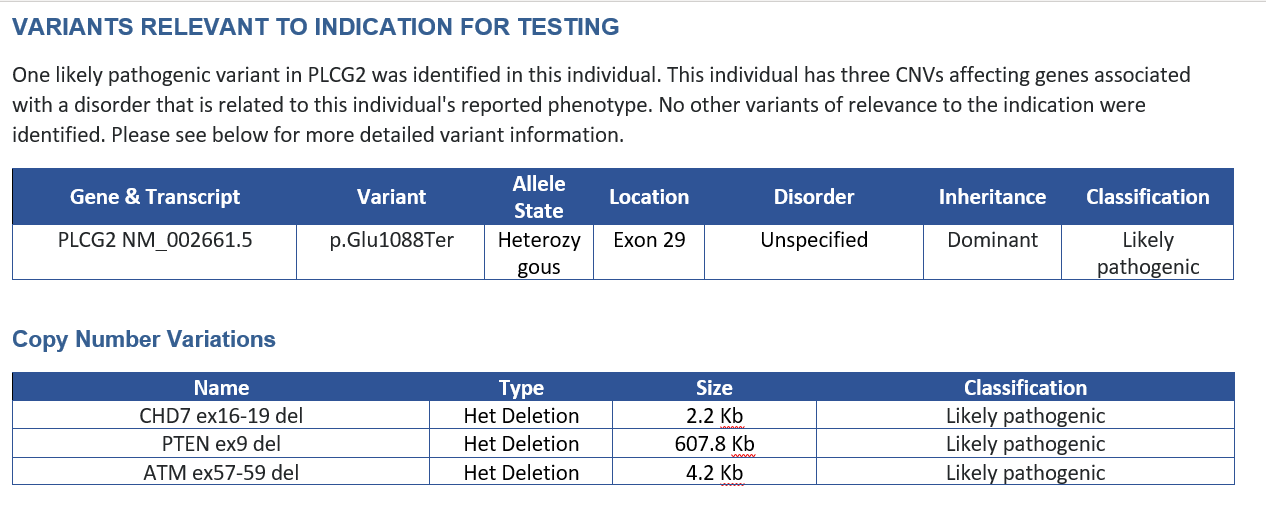
As an example, I have rendered the basic Mendelian Template below (Figure 5). As you can see, a lot of the main sections are accounted for, such as the patient information, the lab contact information, and the positive result indication. Further on in the template, there are sections for the specific variant, CNV, and SV analysis (Figure 6).
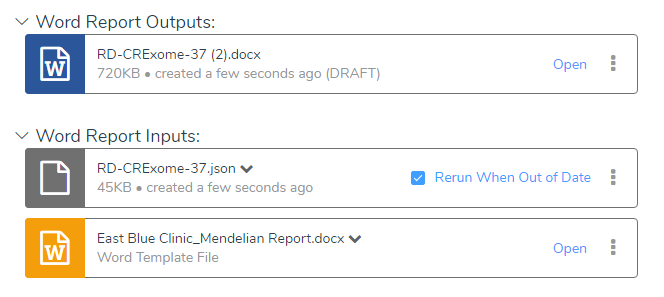
While the given report templates are great starting points for the report customization process, and many Golden Helix customers do just that, we want to make a template with the preferred logos and contact information for the East Blue Clinic. To do this, hit Open for the East Blue Clinic_Mendelian Report.docx, as seen below (Figure 7).
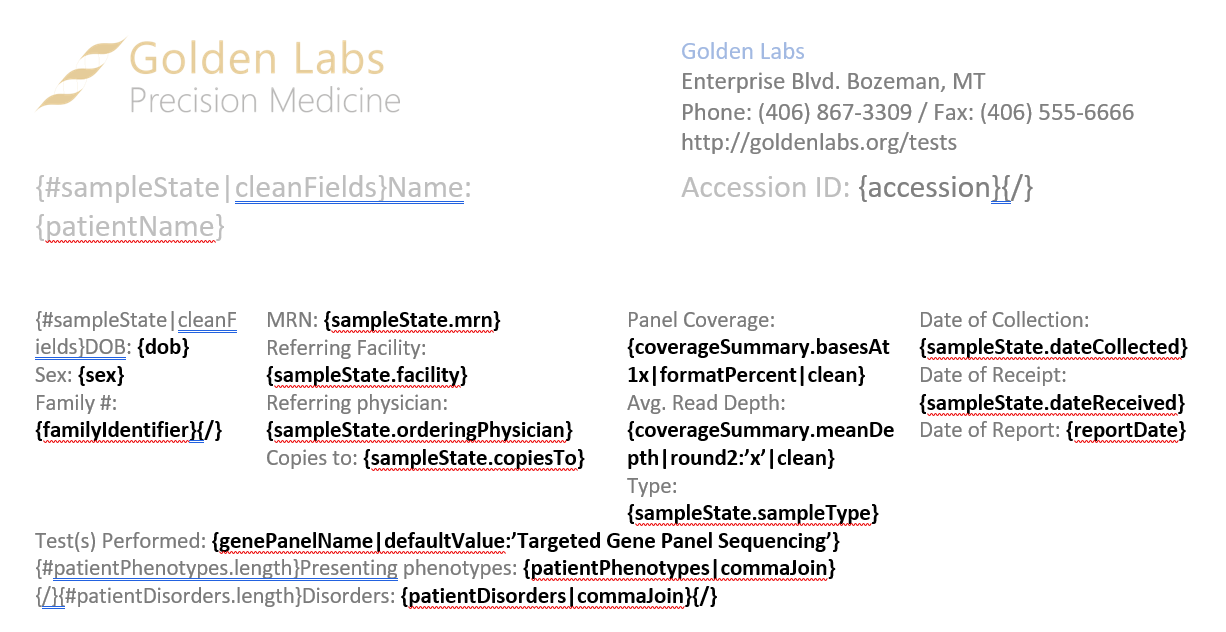
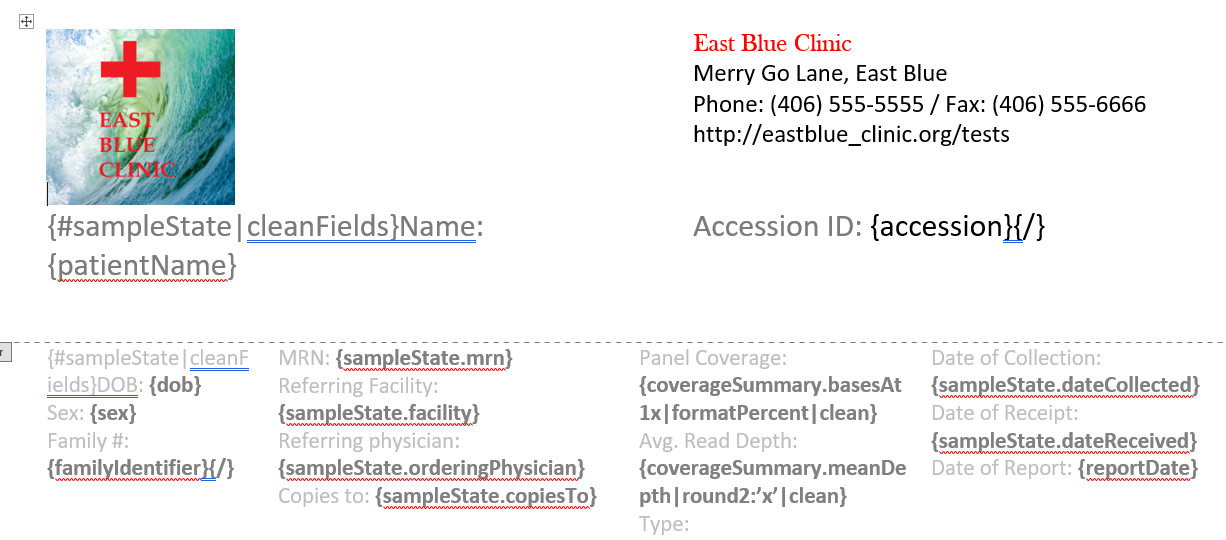
This is the template backbone (Figure 8). At the base of it, this is a Word document with JavaScript that indicates which fields should be pulled from the JSON file. To be specific, the fields surrounded by the curly braces are pulled from the JSON file. All fields in curly braces with a pipe (e.g., {patiendDisorders|commaJoin}) is a JSON field (patientDisorders) being formatted by a JavaScript function (commaJoin). The other fields, like the lab contact information, are simple text files that render the same in all reports.
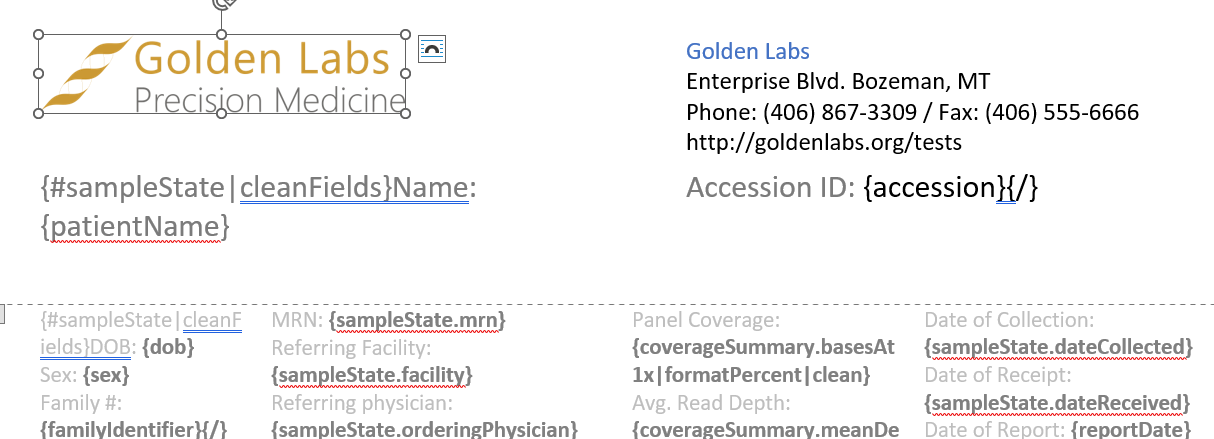
One of the most simple changes is to replace the lab logo. Simply activate the current logo (Figure 9), and delete it. At this point, you can also change the other permanent fields, such as the lab contact information.
Next, simply add the preferred logos (Figure 10). Here you can also see the new East Blue Clinic contact information.
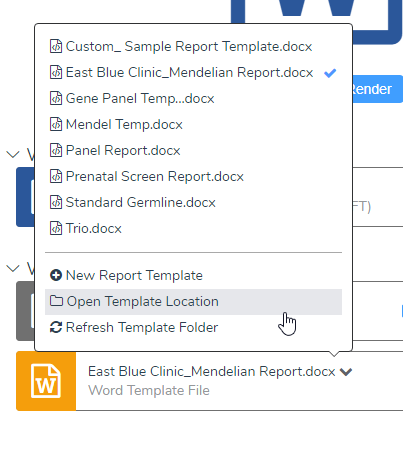
Now that the template is finalized, make sure to save it, close it, and then inside of VSClinical, Refresh the Template Folder, as seen below (Figure 11).
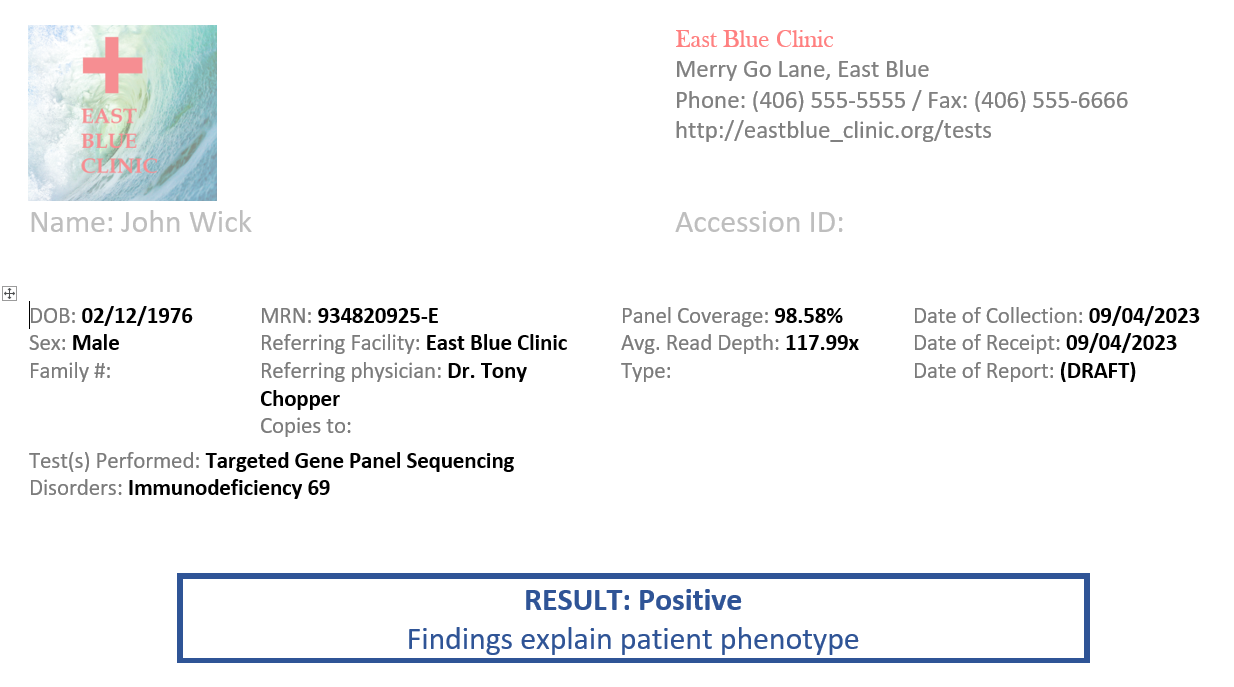
When rendered, we now have our patient information included in the new East Blue Clinic report (Figure 12).
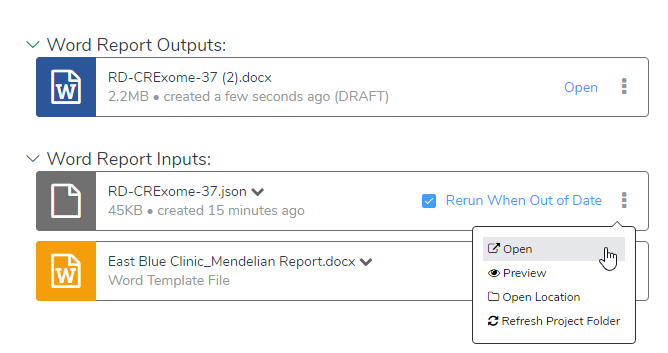
While these were very minor changes, it does reflect that customization can be simple, such as changing colors or reordering report sections. It is also possible to make more complicated changes, such as bringing in custom fields. If a field, such as an annotation, can be rendered into the JSON file, then it can be brought into a report. Many external fields can also be brought into the report via the JSON if they are brought in via a text manifest, as described in the text manifest blog. To find the JSON file and view the natively available fields, go back to VSClinical, and open the JSON as seen below (Figure 13).
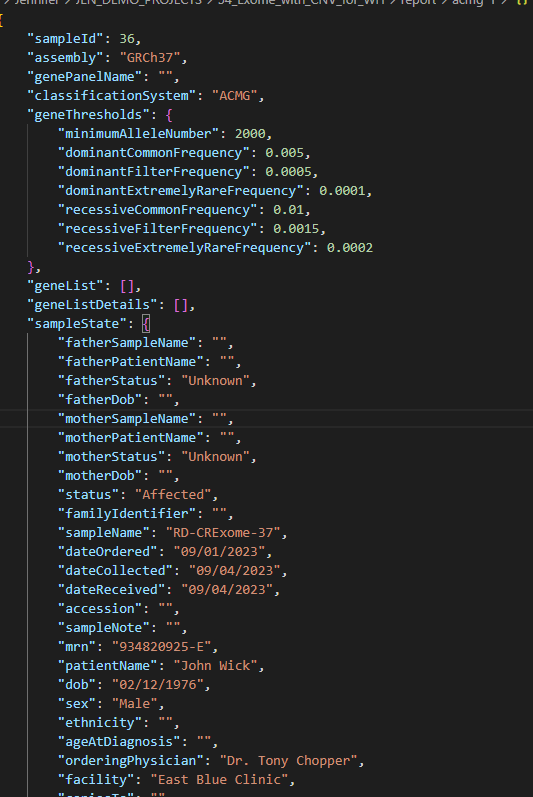
While the JSON file is really just a text file, exploring the file can be daunting. While text editors like NotePad can work for this purpose, we on the FAS team prefer to use VSCode (a free program) when exploring both JSON and VCF files (Figure 14).

When opening a JSON file with VSCode, make sure to format the doc for easy viewing! Here is an excerpt of the JSON file. As you can see, there are a multitude of fields available that could be brought into the report template (Figure 15).
While some changes to the report template are quite simple, some customizations can feel quite daunting if you are unfamiliar with JavaScript. If you have questions or concerns about the customization process, please reach out to [email protected], and we are happy to consult with you about your dream report template! If you would like more information on how reporting can fit into the overall automated architecture of your NGS pipeline, check out a great webcast on the subject here. For more information on how JavaScript plays into the reporting process, here is another great blog.